Homemade granola, it’s one of those things that is worth trying out at least once in your life! While rarely a cheaper way to make the crunchy snack than buying the shop stuff, it is a way to control the ingredients and have fun playing with additions that you might not find in the branded varieties. Also it’s pretty easy and a brill thing to cook with kids as it doesn’t have to be precise…
We’ve played with a few granolas over the years from chocolate to beetroot with many various grains and ingredients to choose from, making interesting tastes and textures.
For example you could play with:
- Seeds (sunflower/sesame/poppy/pumpkin/chia/flax)
- Nuts (whole/powdered like almonds or peanut/nut butter)
- Flakes (rice/quinoa)
- Fruit (like apple/banana/pear)
- Vegetables (like carrot/beetroot)
- Dried fruit (raisins/sultanas/cranberries/sour cherry/date/prune/blueberry/apricot/banana/pineapple/mango)
- Coconut
- Fats/Oils (coconut/vegetable/groundnut)
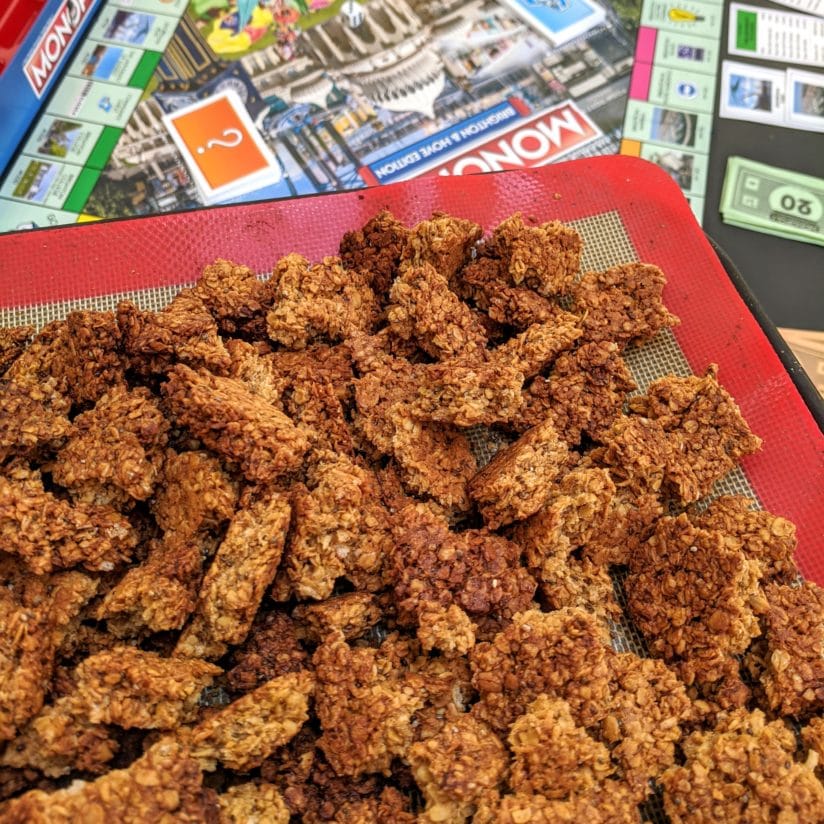
This particular recipe is somewhere between granola and a crunchy chunk of biscuit, something good just to nibble on as a quick fix and delivers on flavour, protein and fibre!
One key tip: Don’t mix it up while baking, make sure it bakes as a solid layer then cool entirely before breaking it up to ensure it stays as clumps rather than separates!
Ingredients
- 500g Porridge oats
- Approx 75-100g dessciated coconut (as much as you like!)
- Handful of chia seeds (optional)
- 2 ripe bananas
- 4 decent heaped tablespoons of peanut butter
- 6 tablespoons of oil (we used vegetable)
- 4-6 tablespoons of sweetener to taste (we used maple syrup and honey)
- Pinch of salt
Method
- Mash the bananas (easiest done on a wide plate if kids are getting involved & mash them well, you don’t really want chunks!)
- Scoop into a mixing bowl and mix bananas with peanut butter, oil and sweetener.
- Mix in the oats, salt, coconut and chia seeds until combined – it’ll thicken up and you want it to keep getting thicker and very well coated. If it’s too dry then add a bit more oil and sweetener until you have a sticky mixture.
- Spread onto a lined baking tray and flatten down so it’s a fairly even sheet – this is quite thick if you cook it all at once, but if you like you can do it on 2 sheets or half at a time and make it thinner, just bake for less time!
- Bake for around 30mins on 160C or until browned and firm on top. Remove from oven and try to turn it over in whatever size pieces you can to reveal the underside, then pop back in the oven for another 10mins then turn the oven off. Leave in oven for 15mins. Make sure it isn’t burning during any of this cooking time – if the edges are darker then that’s normal as they’re thinner. Ideally you want them to be as thick as the rest but don’t worry, the crispy darker bits are also tasty!
- Remove from oven and leave to cool completely before breaking up into the chunks you want.
- Store in an airtight container – it should last for about 1-2 weeks if you don’t eat it all at once. Tasty with yoghurt and stewed fruit for breakfast or just a snack to nibble on when concentrating on your homework/staring into space…
Enjoy!